After looking at the project “We are Alfred”, I’ve started to look more into the creation of 360 video and how to add a filter to the video so that there is an image that stays in the same viewpoint for the user when they are looking around.
I arranged to use the a 360 camera to see if I would be able to implement it into my simulation. When using it in the workshop it was easy enough to record on and then transfer to a computer. The file opens in both AfterEffects and Premiere so can be easily edited from these. I am doing research into adding effects and content on top of 360 video, it seems easy enough but I must be careful as the video has a fisheye effect on it and for the content to look like it is part of the scene I must distort it in the same way that the camera has distorted the scene.
An example of the fisheye style that the 360 video creates
I wanted to take the impairment of Cataracts, which is more common amongst the elderly and reimagine it as if it was a student with the disease. This would bring more awareness to the disease because it tends to only effect those who are older.
Here are my original ideas for the scenes:
I wanted to use about 5 scenes in the work all based around the day in the life of a uni student. As the simulation changes and the level of visual impairment increases, facts about the causes and more information about Cataracts and other visual impairments will be shown on screen.
Some of the scenes that I think will work particularly well are:
Walking to University/Crossing the street
By using this as a scene I will be able to highlight what is located for visually impaired people on the British streets, much like indicated in this video.
“People can find themselves in the road without knowing they are in the road”
Depending on the street I choose to use I could either highlight the lack of help for the visually impaired, for example if some of the paint is faded on the street so that it is difficult for those with visual impairments to look at. I could in turn also use a really good example of help for visual impairments on the street, which may make some people appreciate the reasons for features such as patterned pavements. Before watching the video I didn’t realise that all of these features were available for the visually impaired.
Waking Up/Using a Phone
I could start the simulation by having the user wake up, and as they look around their vision slowly gets worse and worse. They could have to try and text someone on their phone with limited vision, as this is difficult for those with short sightedness and low vision.
Sitting at University at a Lecture/Seminar/Workshop
This section is based on how hard it would be to see a screen. In a seminar, tutors often read from a screen and then ask questions based on that. There could be a section where the tutor puts people into groups by pointing at pupils and giving them a number, but the user cannot see who the tutor is pointing at and therefore don’t know what group they are in.
Going to the Bathroom
The user could ask where the bathroom is and somebody could give a vague answer to them leaving them to be confused and to rely on their sight to find the bathroom. Although the signs for toilets are universal, it would be hard for someone with such bad sight to find the toilet easily. In the simulation it could end with a comedic exchange where the user goes into the wrong room or wrong toilet.
Meeting up with someone/Going for a meal
Finding somebody in a crowded restaurant or place can be hard enough for somebody with 20/20 vision, let alone those with visual impairments. In this scene the user could meet somebody outside a restaurant and walk in with them, continuing to try and navigate the restaurant as well as paying attention to the other person.
I feel that these scenes are the most plausible for me to create as they show the struggles of a visual impairment but at the same time are also very doable for me because I have access to many of the resources that are needed for these scenes in particular.
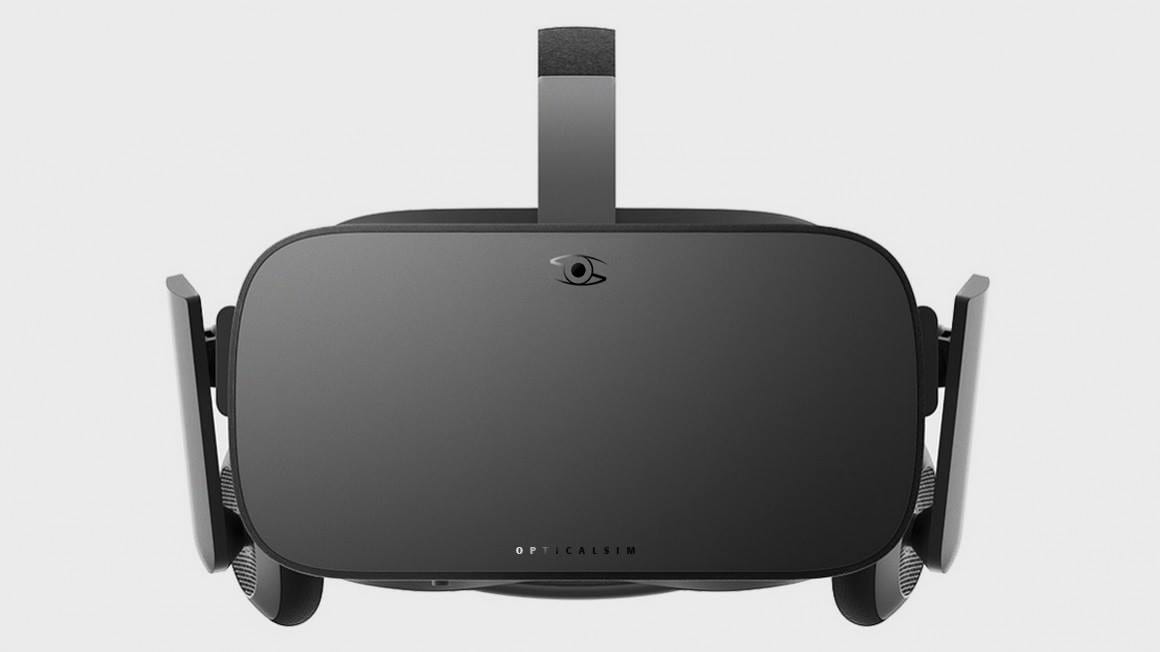
When creating the logo for my project I looked into different apps, companies and other similar projects for inspiration. I knew from the start I wanted to include the O from OptcialSim so there is a connection between the brand name and logo, thankfully, this also looks the same as a pupil so I can incorporate both of these elements in my logo.
Here are a few of my original ideas below.
Original Sketches
As you can see in these images the eye is a strong feature of the logo. I wanted to focus on the eye because this is essential what my project revolves around. I decided to further my ideas and also add in an S to the logo. This would then mean that the logo has both the O and S from OpticalSim in it.
I really like this logo because I feel that it reflects the project and has also been made to look very similar to an eyeball. In addition to the logo I have also created some mock up designs for the headsets with the logo printed on them.